How To Track Changes in Excel [ Workbooks & Sheets]Everything You Need to Know


Tracking changes in Excel is a useful technique to know when you are sharing an Excel workbook with others.
If you use “Track Changes,” it will highlight any changes users make to a cell in another copy.
Even if you aren’t sharing a file, it may be useful just to track changes you make when you are updating an existing file.
The Track Changes feature has become more limited in newer versions of Excel as the Shared Workbook feature has been phased out for the newer co-authoring feature, which does not support this legacy feature.
Instead, Excel 365 and other newer editions include the Show Changes feature for tracking changes.
However, track changes remains a valuable tool for legacy editions and for when users choose to use this older method of file sharing.
So, let’s see how track changes can be used, as well as its newer counterpart.
Adding the Track Changes Feature to the Ribbon
On newer versions of Excel, the Track Changes feature is no longer on the ribbon, so it will need to be added.
Follow these steps to place it onto the ribbon.
- Select the “File” tab and then “Options.” In the “Excel Options” window, navigate to the “Customize Ribbon” tab.
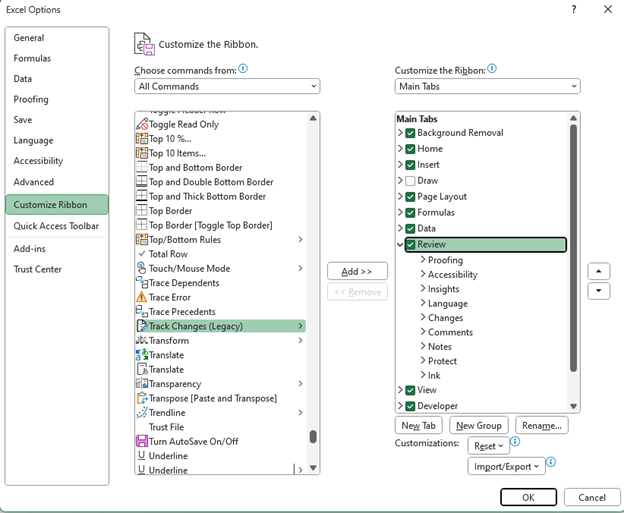
- In the “Choose command from” box, choose “All Commands.” Then scroll down to find “Track Changes (Legacy).”
- In order to add this feature to the ribbon, you will need to create a new group. Start by highlighting the review category and then selecting the “New Group” button. You can then select “Rename” to give this group a new name, such as “Tracking Changes.”
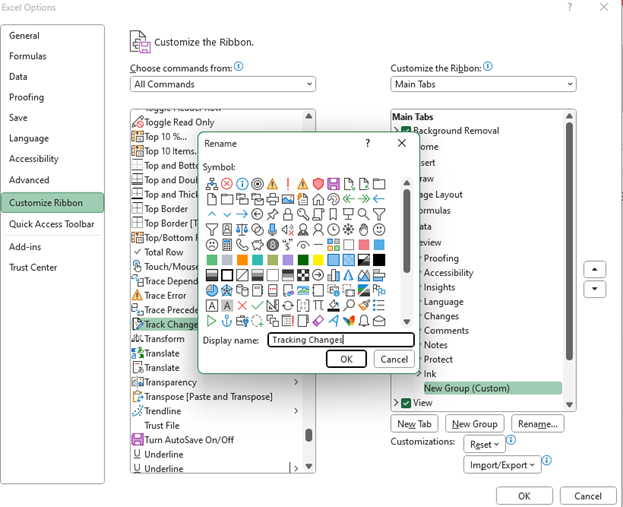
- Now you can add the Track Changes feature by selecting it and using the “Add” key to place it in your new group. In addition, add “Compare and Merge Workbooks,” “Share Workbook,” and “Protect Sharing.” Select “OK” when you are done.
Now each of the Track Changes features should be visible in the group you created under the “Review” tab.

Enabling Track Changes
With Track Changes on your ribbon, it is time to get started tracking changes, but unless it is manually enabled, the track changes feature is shut off by default.
So, the first step is always to turn it on, and here is how.
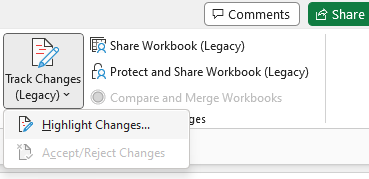
- Navigate to the Review tab and find the “Track Changes” feature. Click it and then select “Highlight Changes.”
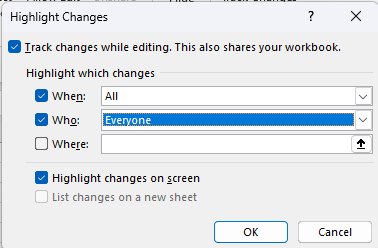
- This will open the “Highlight Changes” dialog box. Here, check the box for “Track changes while editing” and then the “When” and “Who” boxes as well. Make sure the boxes are set to “All” and “Everyone,” and then select “OK.”

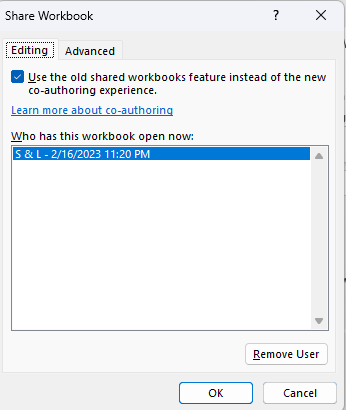
- Now within your new group, select “Share Workbook (Legacy),” and within the dialog box that opens, navigate to “Editing” and check the “Use the old shared workbooks feature instead of the new co-authoring experience” box. Select “OK” when you are done.
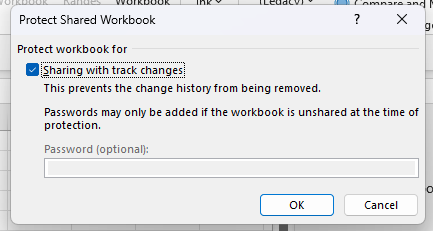
- Now select “Protect Shared Workbook,” and within the dialog box, check the “Sharing with track changes” box. Next, select “OK.”
Now you are ready to share your file and track changes.
Using the Track Changes Feature
The track changes feature is now ready to use, so you can save your file wherever you would like to allow others to access it.
For example, saving it in a OneDrive folder to which team members have access. Alternatively, you can always email your workbook to collaborators instead.
However, one important detail to keep in mind is that the Track Changes feature will not work with workbooks containing tables.
If your workbook does contain any tables, make sure to convert them to a range before sharing them.
Once changes are made, follow these steps to use the Track Changes feature to review and either accept or reject changes.
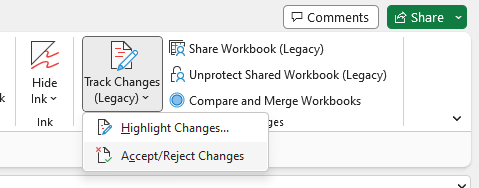
- Navigate to the “Review” tab and click on “Track Changes.” Then select “Accept/Reject Changes.”
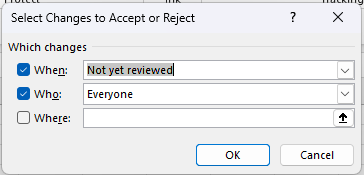
- This will open a new dialog box, and to accept or reject changes for the whole file, clear the checkbox for “Where.”
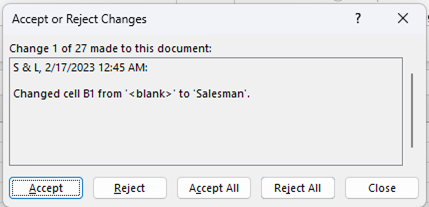
- This will open the “Accept or Reject Changes” window. Here you can choose to accept or reject each change made to the workbook.
Turning the Track Changes Feature Off
When you are finished using the Track Changes feature and would no longer like Excel to track further changes, you can easily disable it again. Just follow these steps.

- Navigate to the Review Tab and select “Track Changes,” and then “Highlight Changes.”
- Within the “Highlight Changes” dialog box, uncheck all of the boxes and select “OK.”
Tracking Changes with Excel’s Show Changes Feature
Show Changes is Excel’s newer alternative to the Track Changes feature. This feature enables users to display the most recent changes to an entire workbook or even narrow the search down to individual sheets, ranges, or cells.
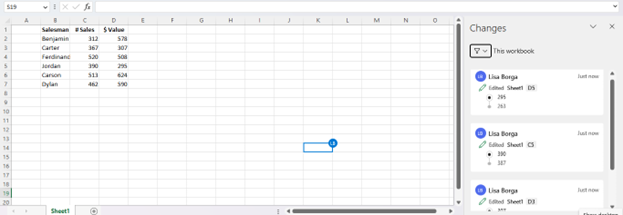
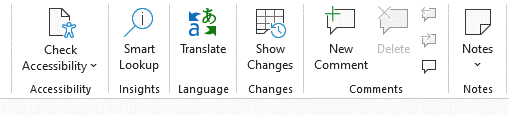
To use this feature, navigate to the Review tab and select “Show Changes.” This will open the “Changes” panel, which will display all recent changes, where and when the changes were made, as well as who made them. This will also allow you to reverse the changes if you choose.

You can also select a specific sheet, range, or cell to limit the displayed changes to only the selected range. It is also possible to limit the search to only a specific column by right-clicking on a column and selecting “Show Changes.” This will bring up only changes made to the column.
Final Thoughts
Collaboration is crucial to productivity, and the ability to track changes considerably enhances the ability to share workbooks confidently.
By using Excel’s Track Changes or Show Changes features, users can easily identify where alterations were made and choose whether or not to revert them to maintain the integrity of their workbooks.
Now you know how to use either of these features to share and protect your data confidently.