Easiest Ways to Move Rows / Columns in ExcelSimple Methods


Microsoft Excel is one of the most valuable and highly used varieties of business software on the planet and is often used to store and present data quickly and easily.
However, often this means reorganizing rows and columns to highlight certain information or reshaping data when it is needed.
Fortunately, Excel makes this extremely easy to do, with several potential methods available depending on your needs.
Here we will show you a few of the best methods available to move rows or columns in your Excel worksheets.
How To Move a Row or Column Without Losing Data
The easiest way to move a row or column to a new location without deleting anything in Excel is to simply drag and drop it into a new location on your worksheet.
This is a convenient method to use and will not delete any existing data in the moved row or column or others when performed correctly.
Here is how to do this.
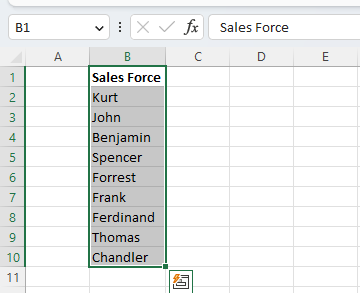
- Select the row or column that you want to move and depress the “Shift” key on your keyboard. Do not release the “Shift” key until the entire process is done to avoid losing data.
- Move your mouse to the border of the row or column and hover it until it displays a move icon which looks like a four-directional arrow.
- Click and hold the edge of the selection while continuing to hold down the “Shift” key and drag your selection to where you want it to go.
- Excel will display a bold green line below the row or to the right of the column where it will be placed. When you see the bold line where you want your row or column to go, simply drop the text by releasing your mouse key and then the “Shift” key.


This is an easy way to move rows or columns and has the advantage of being able to move multiple contiguous rows or columns simultaneously, making it easy to rearrange large quantities of data simultaneously.
Unfortunately, you cannot move multiple non-contiguous rows or columns.
How To Copy and Paste a Row or Column

In some cases, you may need to replace an existing row or column without retaining the data it held.
In this case, you can simply copy your row or column and paste it over another column.
This will replace the former data held in the row or column with the copied contents. Here is how.
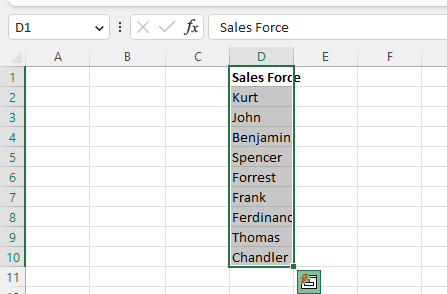
- Hover your cursor over the edge of the border or column you want to move and then depress the “Ctrl” key. This will cause the mouse pointer to turn into a small plus icon.
- Now you can click and hold to drag and drop your selection into your desired location. This will now replace the existing contents of the row or column, overwriting its previous contents.
By using “Ctrl” instead of “Shift,” what happened is that Excel created a copy of the selection, which was pasted over the destination instead of simply rearranging columns or rows. Excel will not provide any warning before erasing the existing data. However, you can always simply select “Undo” or use the keyboard shortcut “Ctrl + Z” to reverse the action if needed.
How To Cut and Insert a Row or Column
If you don’t need the data in the existing location, you can also simply cut and insert it when moving it into its new location.
Here is how to do just this with a row or column.

- Select the row or column that you want to cut.
- Navigate to the “Home” tab, and in the “Clipboard” group, select “Cut” or simply use the keyboard shortcut “Ctrl + X.” Excel will create an animated moving border around the cut cell which will disappear along with the cut cells once the following action is completed.
- Right-click on the row above or the column to the right of where you would like to insert your row or column, and then select “Insert Cut Cells.”
Excel will insert the cut contents into the selected location and correspondingly adjust the location of the surrounding data.
How To Move Rows or Columns Between Worksheets or Workbooks
In some cases, you may wish to move a row or column into another worksheet or workbook entirely.
Fortunately, this is easy to do simply by copying or cutting your selection by the method above.
Simply select your row or column and then select “Copy” or “Cut” from the “Clipboard” group of the “Home” tab.
Alternatively, you can use the keyboard shortcuts “CTRL + C” for copy and “CTRL + X” for a cut.
Then go to the other worksheet or workbook where you would like to place your data, and select the top-leftmost cell where you would like your rows or columns to be located.
Select “Paste” or the keyboard shortcut “Ctrl + V,” and Excel will place your rows or columns in their new location.
Conclusion
When it comes to adjusting the locations of rows and columns in Excel, it is easy to make the changes you need to simply by using any of the above methods; you can relocate columns or rows within your spreadsheets or even move them between worksheets or workbooks entirely.
Simply choose the method that works best for your situation.